


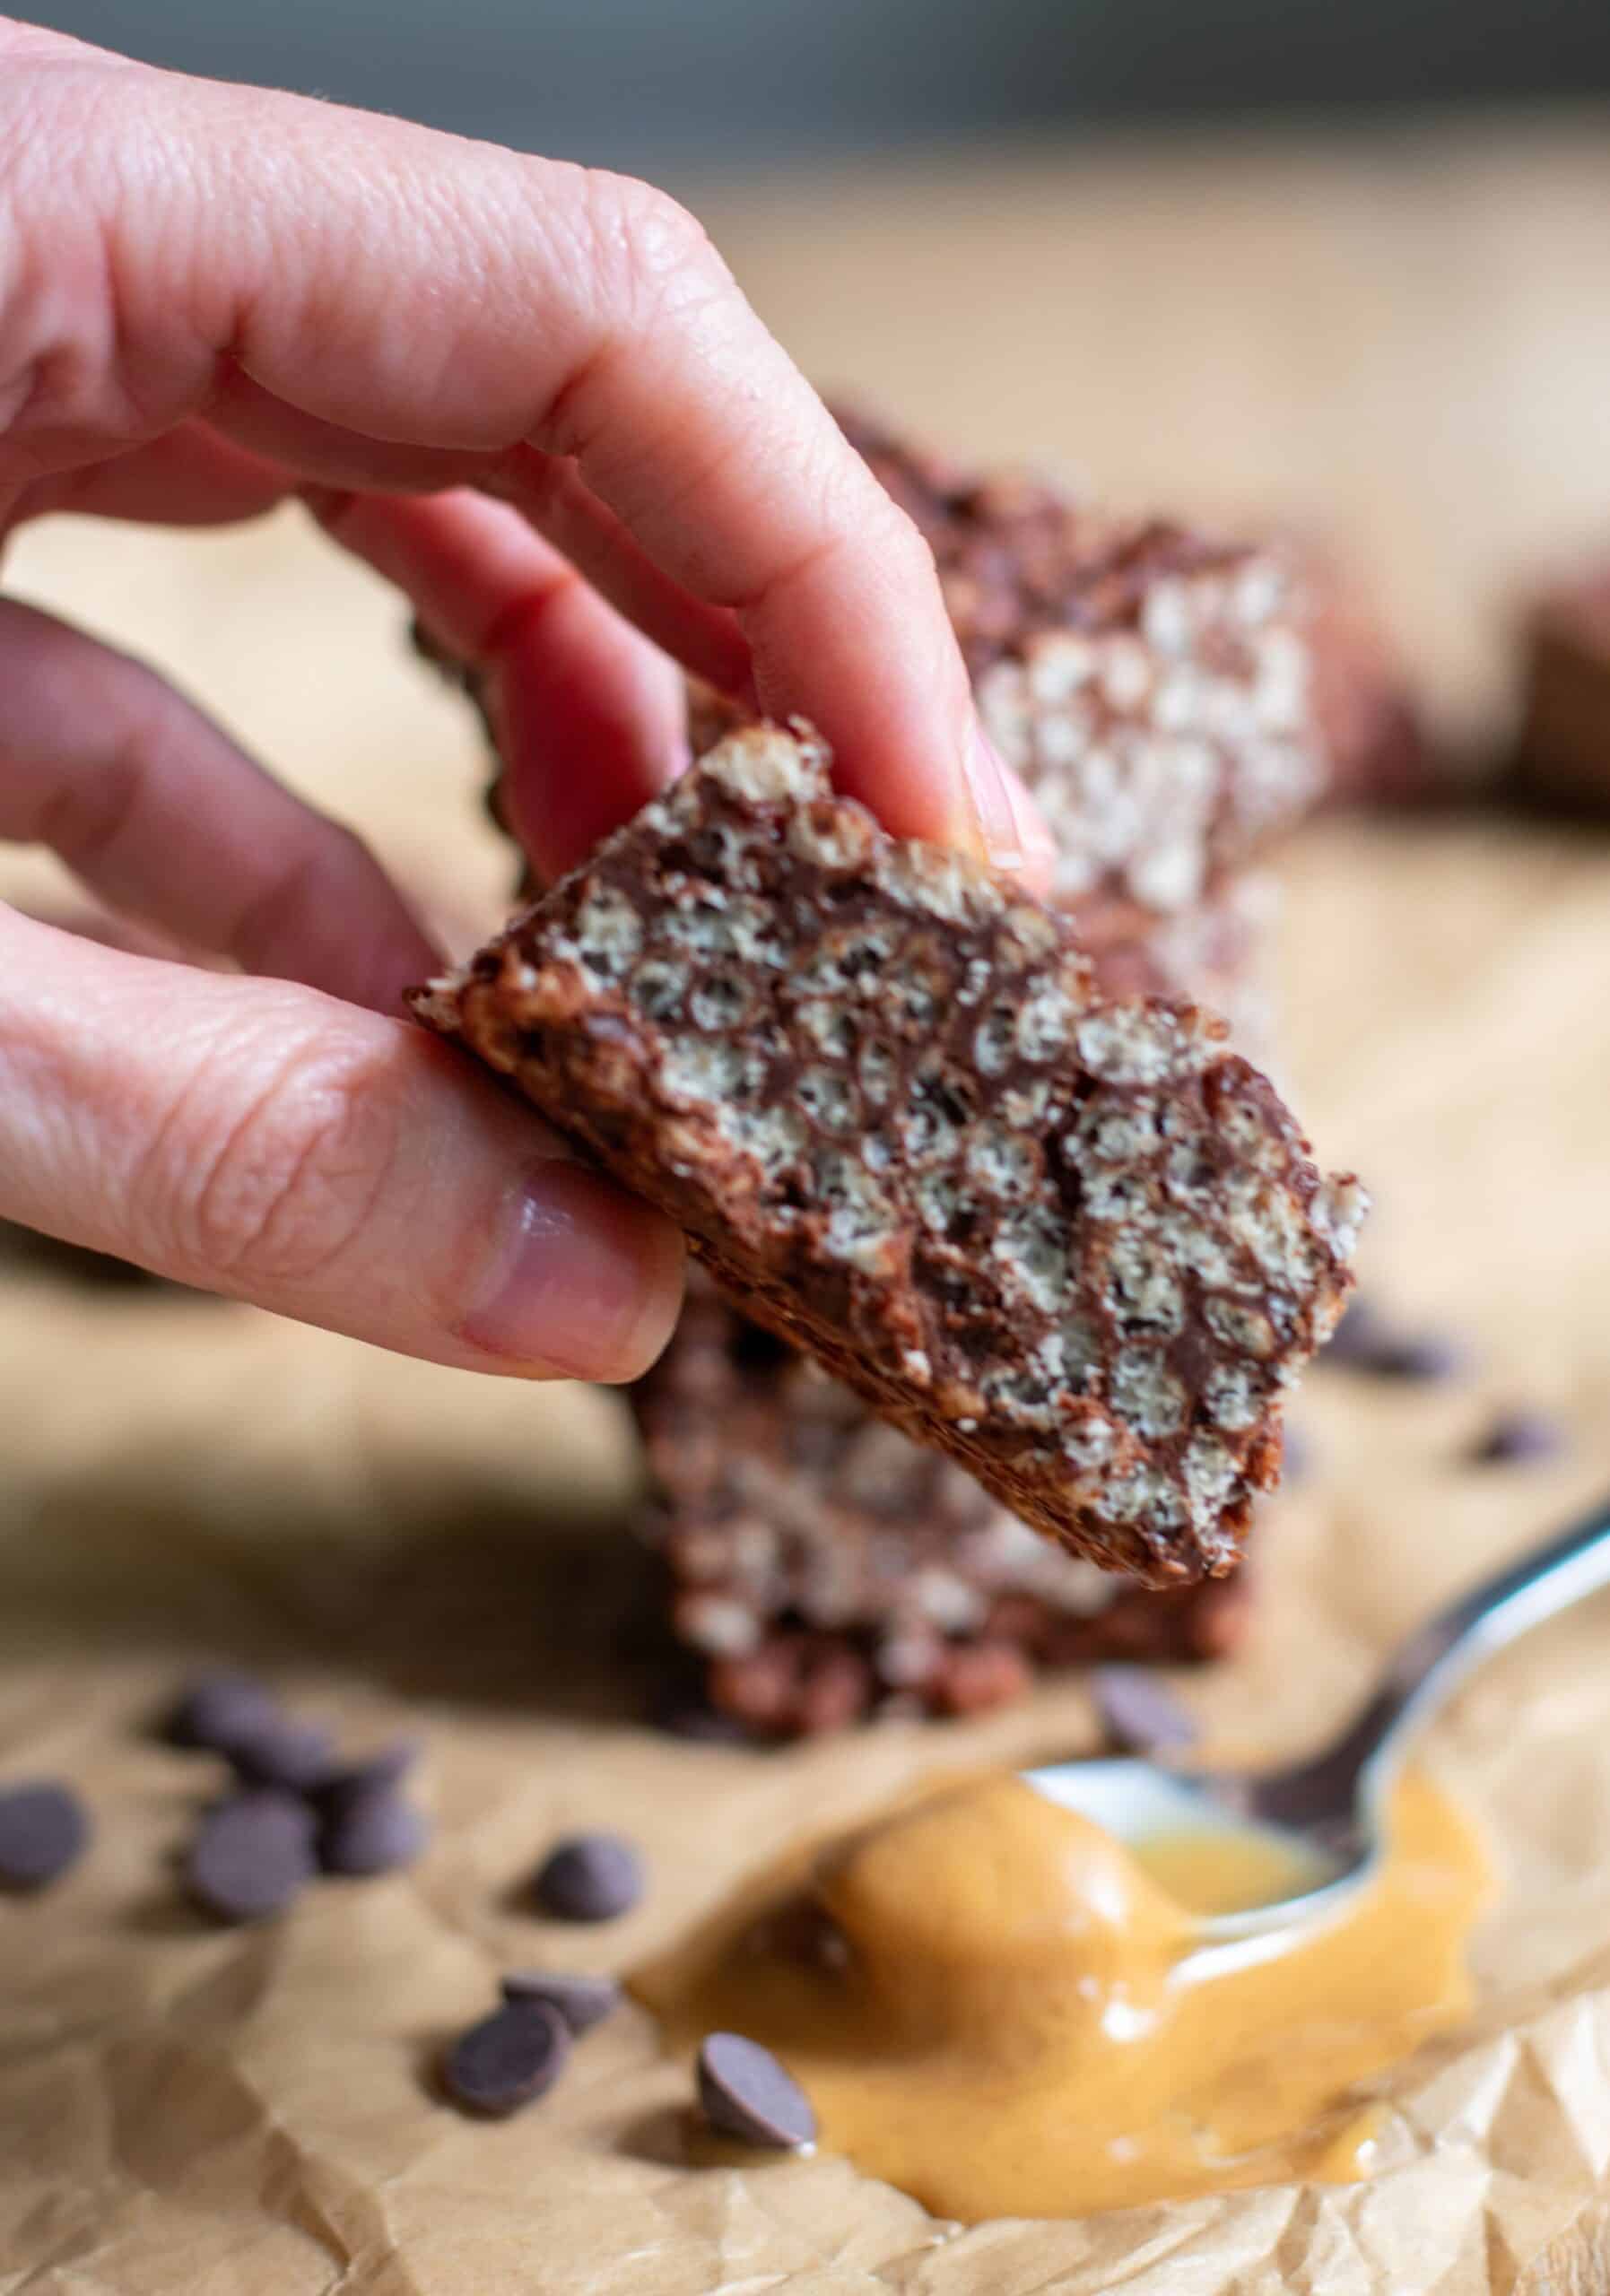
It takes just a few minutes on the stovetop, then you pop them in the freezer to set. I usually make a big batch so I can grab one whenever I need a quick snack. It’s seriously addictive… you’ve been warned😋
Looking for healthy snack recipes? Try my Peanut Butter Protein Granola Clusters and Pecan Pie Energy Balls.
Why You’ll Love These Chocolate Peanut Butter Crispy Bars
- No oven needed. Everything happens in one pot and one bowl.
- Simple ingredients. Crispy rice cereal, dark chocolate, peanut butter, maple syrup, protein powder, milk, and vanilla.
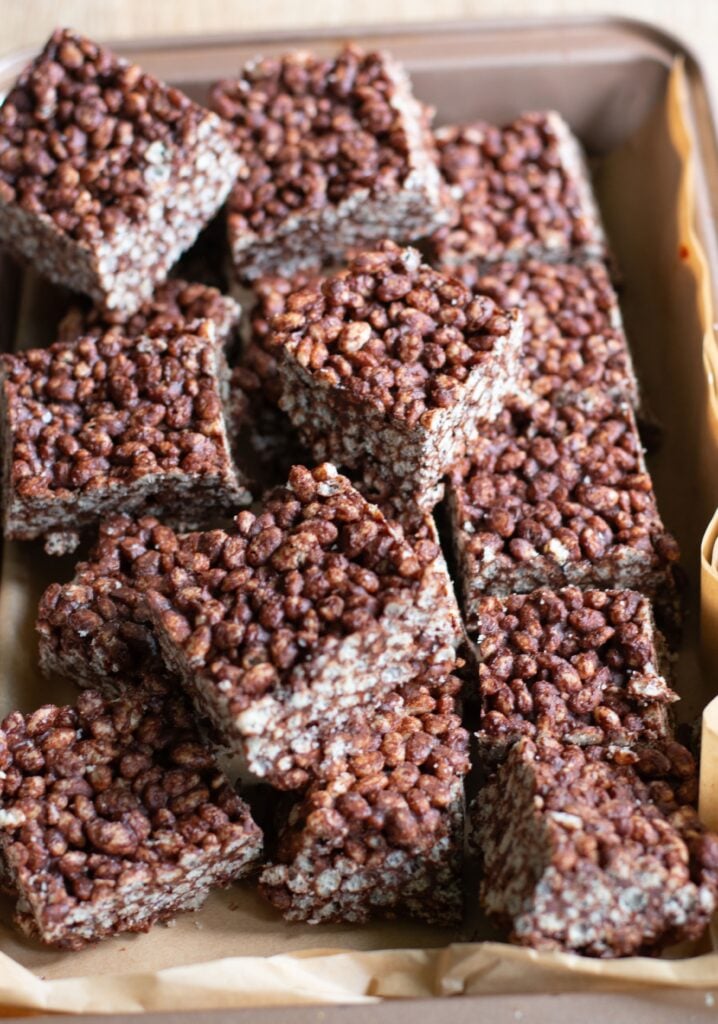
- Made for batching. One pan makes about 25 bars that live in the freezer.
- Snack-friendly. They have the crunch of a classic crispy treat, with a bit of protein from the powder.
Ingredients Overview
- Crispy rice cereal: I use brown rice cereal, but any plain crispy rice cereal will work. Look for one that isn’t heavily sweetened or flavored. You can also use plain rice cake; just crush them into small pieces before mixing them in. They won’t be quite as uniform, but they still give you that crispy texture.
- Dark chocolate: Use a chocolate bar you’d happily eat on its own, since it’s one of the main flavors in these bars. I usually go for dark chocolate, but semi-sweet chocolate works too if you prefer something a little sweeter.
- Peanut butter: This is one ingredient where the type really matters. I like natural, creamy peanut butter made with just peanuts and salt. Avoid peanut butter that’s very thick or dry, because it can make the mixture harder to stir and coat evenly.
- 100% pure maple syrup: Use pure maple syrup for the best flavor and texture. Avoid pancake syrup or “maple-flavored” syrup, which can contain corn syrup, artificial flavors, and other sweeteners that may change the taste and consistency of the bars.
- Protein powder: One scoop is all you need. Vanilla or chocolate both work well. If your protein powder is already quite sweet, you may want to use slightly less maple syrup.
- Milk: You can use dairy or your favorite non-dairy milk, unsweetened preferred.
Tips for the Best Crispy Bars
- Keep the heat low. Chocolate can seize or scorch if the pot gets too hot. Stir constantly and pull it off the heat as soon as it’s smooth.
- Use a very large bowl. The cereal needs room so you can fold gently without crushing it.
- Line the pan with parchment. Leave a little overhang so you can lift the whole slab out and slice it cleanly.
- Press with something flat. The back of a measuring cup or a piece of parchment over the top helps you compact the mixture evenly.
- Slice while firm. Cut the bars straight from the freezer for neat edges.
FAQs
Keep these bars in the freezer. Store them in an airtight container, and use parchment between layers so they don’t stick together, for up to 3 months.
Press the mixture into the pan as firmly as you can before freezing. Firm pressing is the biggest factor in bars that hold together.
Yes! The recipe is written with one scoop of protein powder, but you can easily leave it out. If you do, I recommend leaving out the milk as well, since the protein powder helps absorb some of the liquid.
Chocolate Peanut Butter Crispy Bars
Equipment
Ingredients
- 4 cups crispy rice cereal I use brown rice cereal, but any plain crispy rice cereal will work.
- 7 oz (200g) dark chocolate broken into pieces
- 1/3 cup creamy peanut butter natural creamy peanut butter made with just peanuts and salt.
- 1/4 cup real maple syrup
- 1 scoop protein powder vanilla or chocolate both work well
- 3/4 cup milk of your choice you can use dairy or your favorite non-dairy milk, unsweetened preferred.
- 1 teaspoon vanilla extract
- sea salt optional
Instructions
- Add the chocolate, peanut butter, maple syrup, protein powder, and milk to a small saucepan. Heat over low heat, stirring frequently, until everything is melted and smooth.
- Remove the saucepan from the heat and stir in the vanilla extract until well combined.
- Transfer the chocolate mixture to a very large mixing bowl. Add the crispy rice cereal and gently fold everything together until the cereal is evenly coated. Try not to crush the cereal too much; you want to keep that crispy texture.
- Line a pan with parchment paper, leaving a little overhang for easy removal. Transfer the mixture to the pan and spread it out evenly. Press firmly. This step is important! Use the back of a spoon, spatula, or another piece of parchment paper to really press the mixture down firmly. The more compact it is, the better the bars will hold together.
- Place the pan in the freezer for 2-3 hours, or until the bars are firm enough to slice.
- Remove from the pan, cut into bars, and sprinkle with a little sea salt if you like.
- Store the bars in an airtight container in the freezer for up to 3 months. They’re perfect to grab straight from the freezer whenever you’re craving something chocolatey and crispy.