
As a flight attendant, I’m always looking for snacks and treats that travel well, keep me full longer, and don’t leave me crashing an hour later. These brownies check every box. They’re naturally gluten-free and dairy-free, easy to make in one food processor, and honestly? A great way to sneak in extra fiber without trying too hard.
If you make these, I’d love to see your creations! Tag me on Instagram — I share new video recipes there every week.
Why These High-Fiber Brownies Work
- Simple pantry staples – You probably already have everything you need.
- One-bowl wonder – Made in one food processor.
- Soft & moist – Feels indulgent without being heavy.
Tips for Perfect High-Fiber Black Bean Brownies
- Grease or line your pan – Parchment paper makes clean removal effortless.
- Rinse the beans really well – This removes any leftover starch and flavor, so all you taste is chocolate—not beans.
- Cool before slicing – Helps it hold shape and stay moist.
FAQs
Store your high-fiber brownies in an airtight container at room temperature for up to 4 days, or in the fridge for up to 7 days. For longer storage, wrap them individually and freeze for up to 2–3 months.
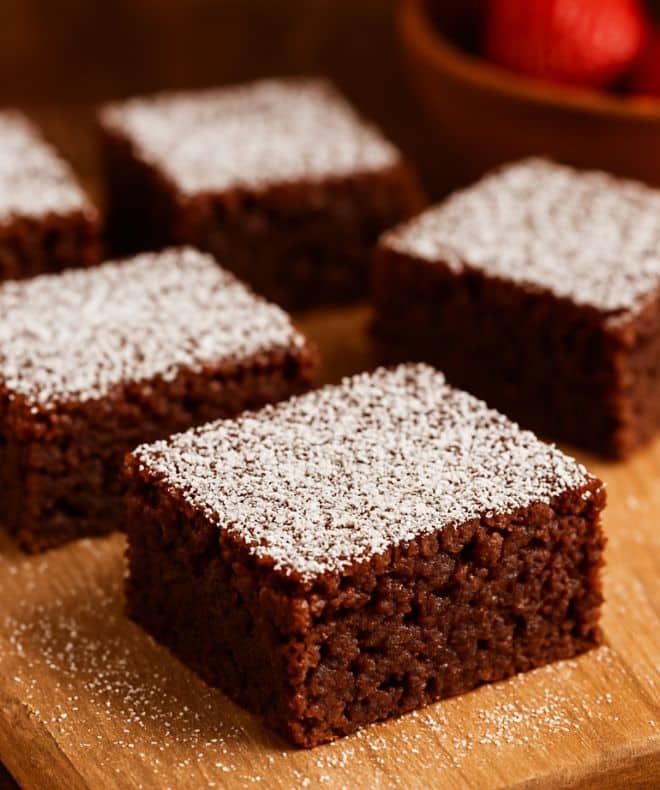
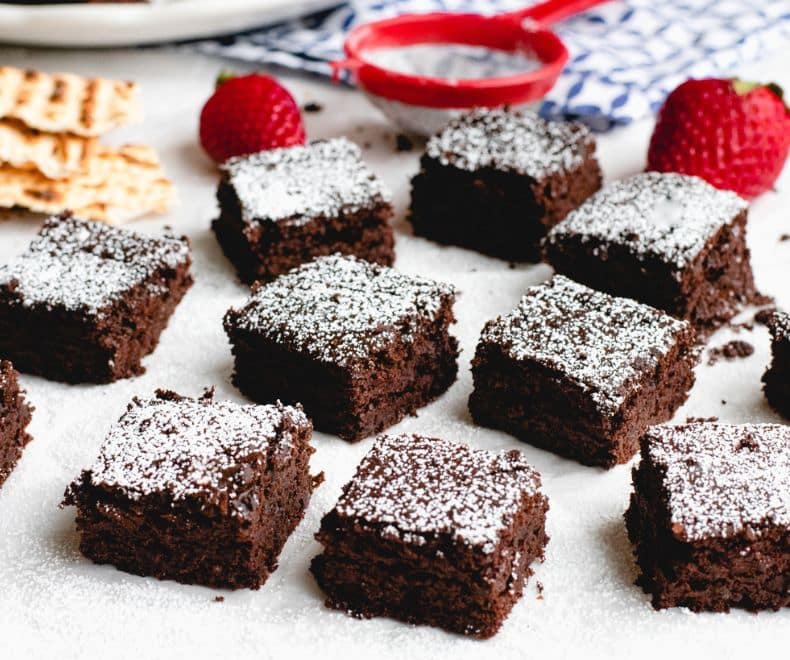
If I didn’t tell you there were beans in here, you’d never guess. The texture is soft and rich—almost like a cross between a brownie and a chocolate cake. They’re not overly sweet, which I personally love, and they feel satisfying in a way regular brownies sometimes don’t.
More Healthy Chocolate Recipes
Chocolate Coconut Protein Cookies
Almond Flour Chocolate Cake Squares
Coconut Date Balls (Samoa Cookie Inspired)
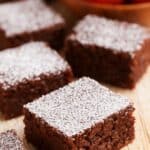
High-Fiber Brownies (Gluten Free & Dairy Free)
Equipment
- A small brownie pan non-stick brownie pan 12 X 7.9 X 2
Ingredients
- 1 can 15 oz (425g) black beans
- 3 large eggs
- 3/4 cup (150g) granulated sugar
- 2(!!) teaspoons vanilla extract
- 1/2 cup (120ml) canola oil or vegetable oil
- 1/2 cup (70g) cocoa powder
- 1 teaspoon baking powder
- 1/2 teaspoon baking soda
- 1/4 teaspoon instant coffee optional
- A pinch of salt
- Cooking spray or oil for greasing the pan
- Powdered sugar for garnish optional
Instructions
- Preheat the oven to 320°F/160°C.
- Line a baking pan with parchment paper and grease it with oil.
- Drain the black beans and rinse thoroughly in a colander under running water for 2 minutes.
- Put the beans in the food processor with the eggs and sugar and mix nonstop until a completely smooth mixture is formed (about 2 minutes).
- Add vanilla, oil, cocoa powder, baking powder, baking soda, coffee *optional*, and salt.
- Process until everything is mixed well.
- Pour the batter into the baking pan.
- Bake for 30-35 minutes until the cake is puffed, burst at the top, and slightly gooey in the center. You can insert a cake tester/skewer into the center of the cake; if it comes out clean with a few small crumbs, the cake is ready.
- Let it cool completely before cutting into squares.
- *Optional* dust with powdered sugar.
Notes
- Rinse and drain the beans well: It’s important to rinse and drain them well to remove any excess starch or off flavors. This will help ensure that the cake has a smooth and even texture.
- Puree the beans thoroughly: This will help create a smooth and uniform texture in the cake.
- Don’t over-bake: Because cakes made with beans tend to be moister than traditional cakes, they can take longer to bake. However, it’s important not to over-bake the cake as it can become dry and crumbly. Keep a close eye on the cake towards the end of the baking time. Insert a toothpick or cake tester into the center of the cake. If it comes out clean or with just a few moist crumbs attached, the cake is done.
even my kids loved it!
My kids too:-)